


Add a Date Picker in Webflow
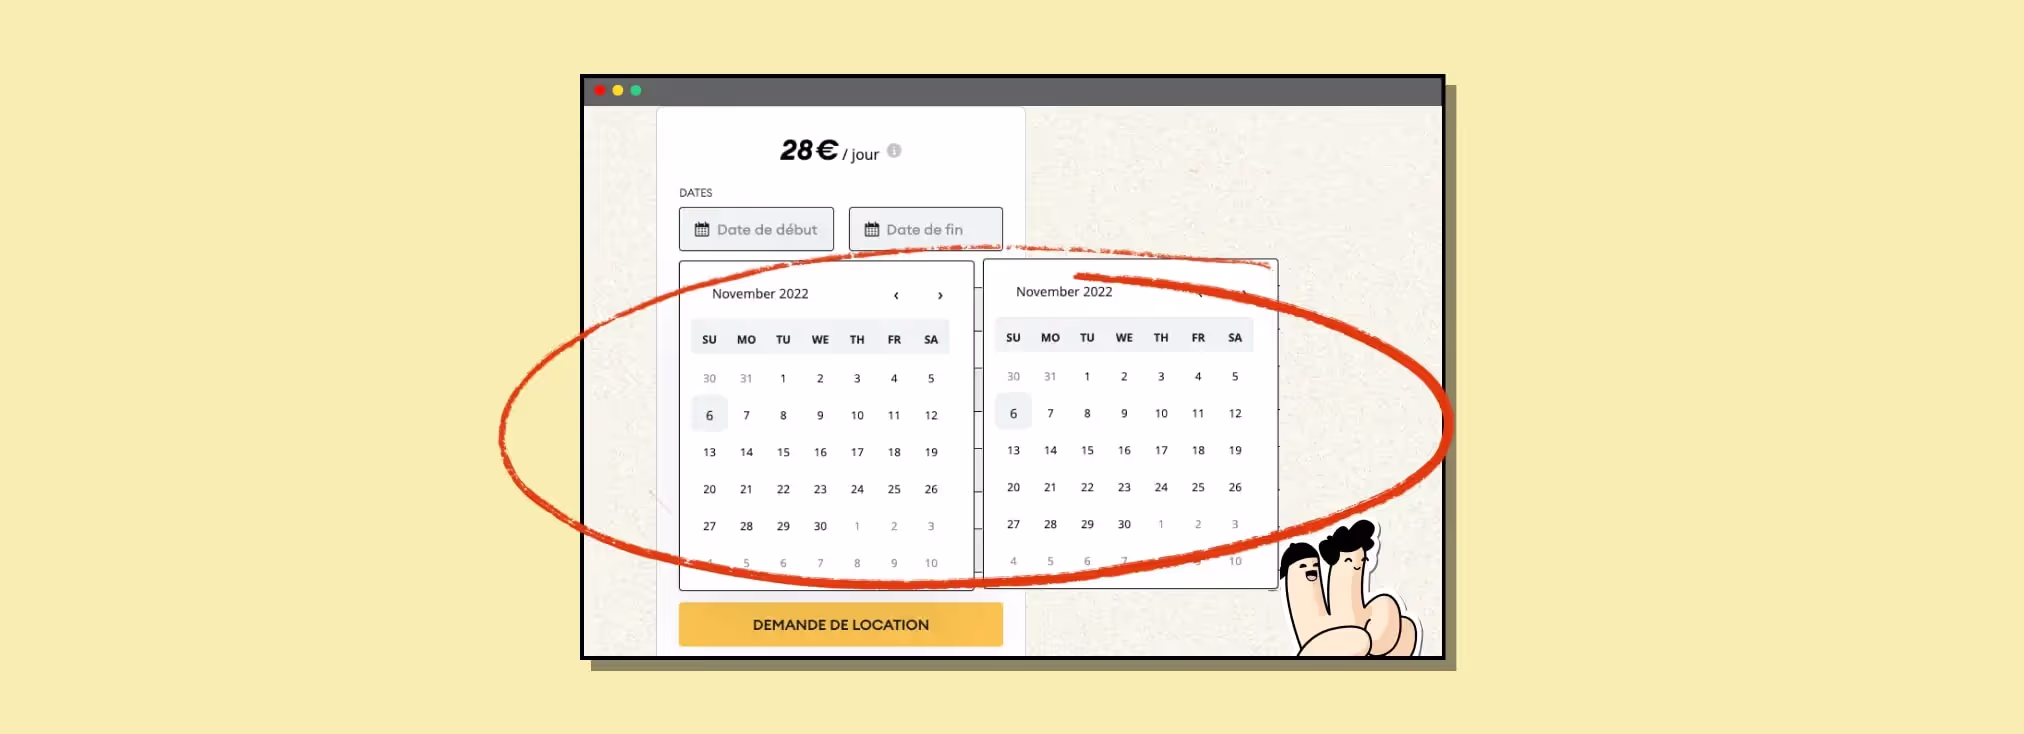
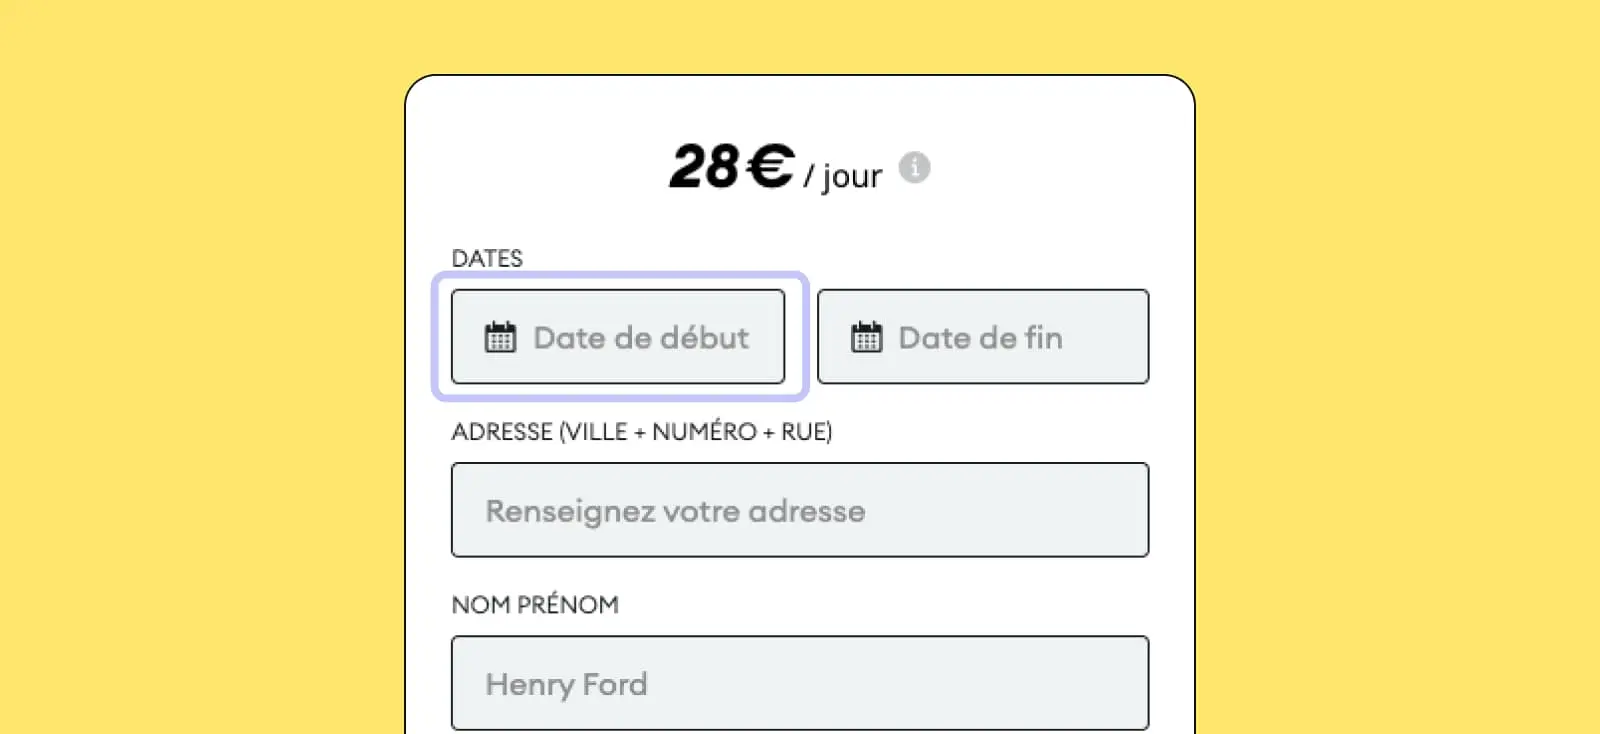
1. Add an input field
The input field will act as the trigger for displaying the datepicker and will capture the date selected by your prospect. We've used this solution several times at our Webflow agency.
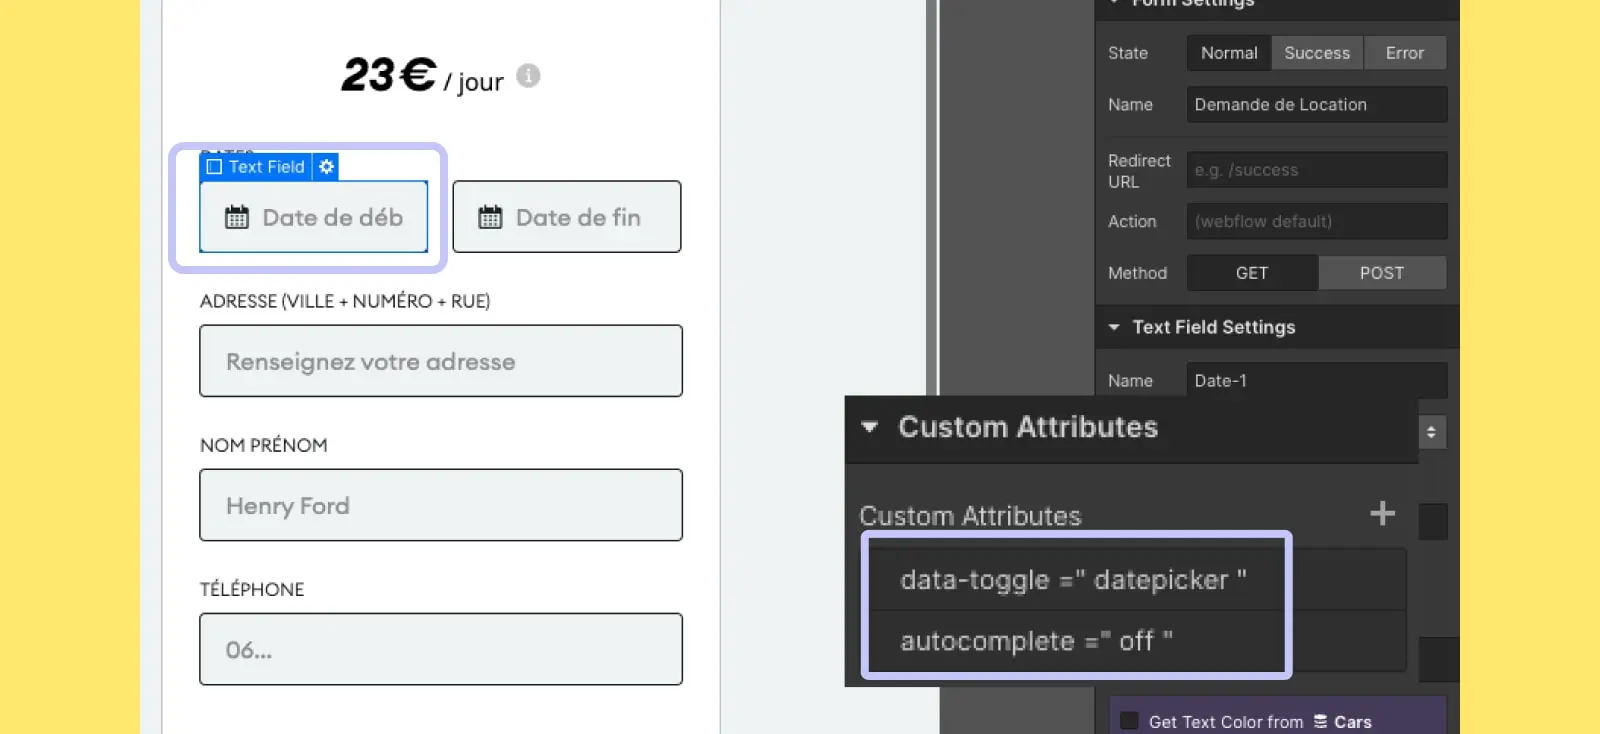
2. Add these 2 custom attributes
- data-toggle = datepicker
- autocomplete = off
3. Add this custom code inside the <head> tag of your page
4. Add these code snippets before the <body>
5. Now just add some styling
You can easily update your datepicker colors by changing the first style lines
--main-light-color : #f3f5fb ;
--main-dark-color : #321f59 ;
--main-active-color : #642eff ;
If you're comfortable with CSS, you can even customize your datepicker's look in more detail (width, height, font, and more).
And if you're not super comfortable, just copy and paste the CSS (the third code block above, the one between the <style> tags) and ask chatGPT to apply the style you want!

6. Publish and test

7. Change the format to get a datepicker in French format (fr-FR)
Use this <script> in the <body> of your page instead of the code specified in step 4.
If you want to learn more about the component, I’m sharing the docs right here. Enough to change the format, the display, and add a few features you might find useful.
Good to know
Heading
Lorem ipsum dolor sit amet, consectetur adipiscing elit. Suspendisse varius enim in eros elementum tristique. Duis cursus, mi quis viverra ornare, eros dolor interdum nulla, ut commodo diam libero vitae erat. Aenean faucibus nibh et justo cursus id rutrum lorem imperdiet. Nunc ut sem vitae risus tristique posuere.


Lorem ipsum
Lorem ipsum dolor sit amet, consectetur adipiscing elit, sed do eiusmod tempor incididunt ut labore et dolore magna aliqua. Ut enim ad minim veniam, quis nostrud exercitation ullamco laboris nisi ut aliquip ex ea commodo consequat. Duis aute irure dolor in reprehenderit in voluptate velit esse cillum dolore eu fugiat nulla pariatur.


