


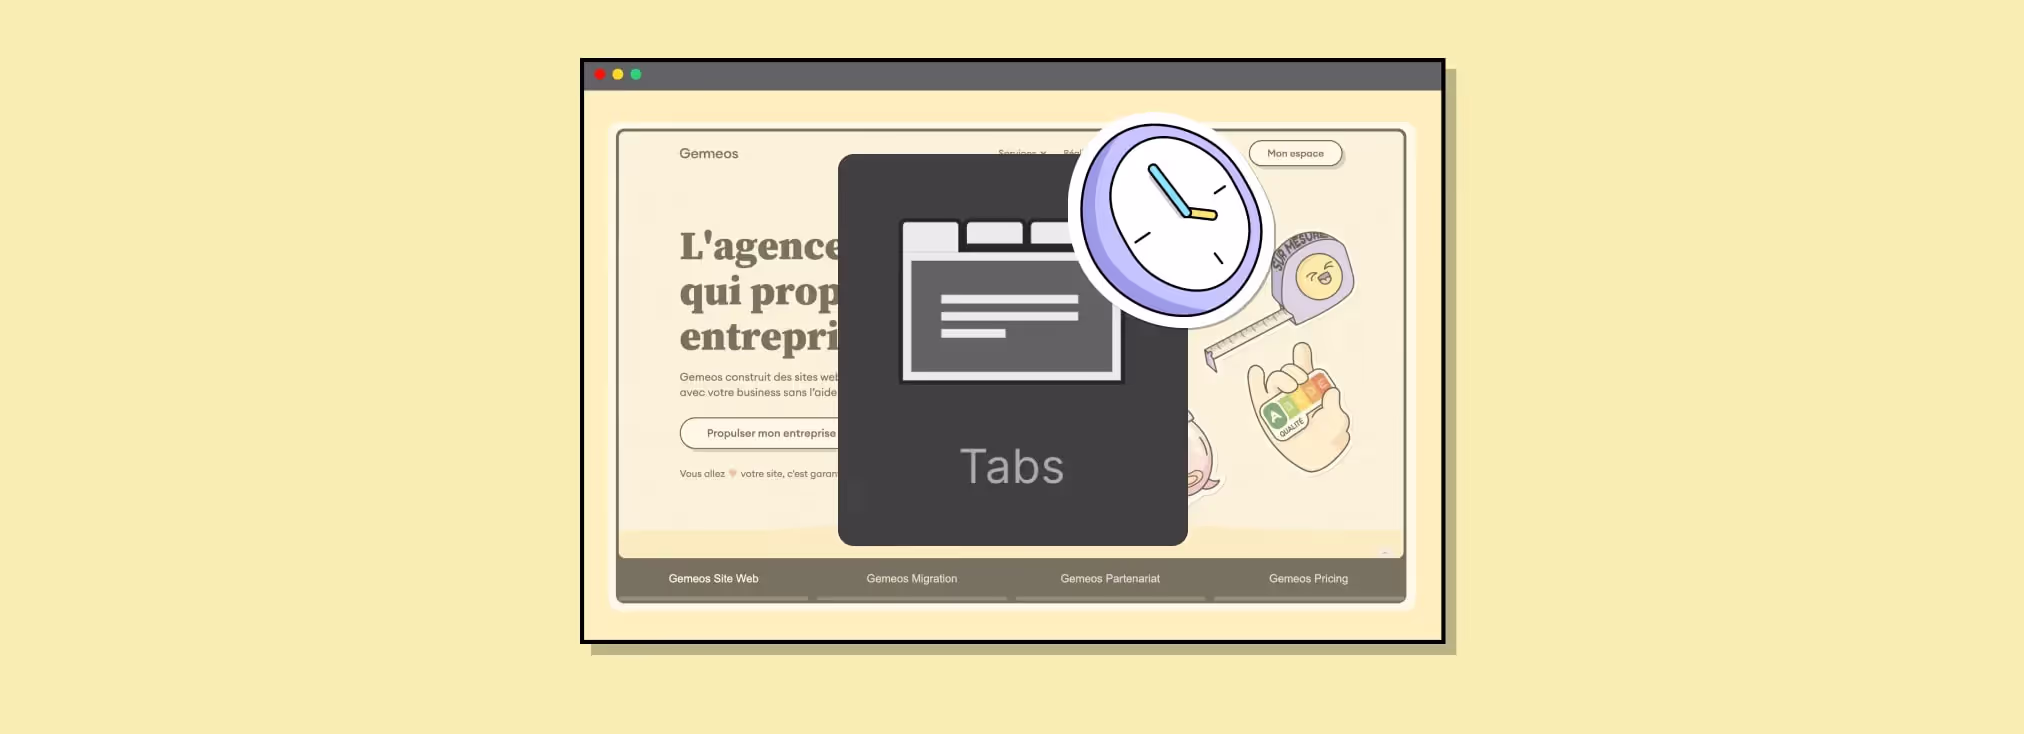
Automatic tab switching every X seconds in Webflow
Introduction
Automatically switching tabs every X seconds can serve a few different purposes.
Here are a few reasons you might do it:
- User Engagement: Motion or periodic changes can grab users' attention and encourage them to interact more with each tab's content.
- Content Highlighting: If you have multiple offers or pieces of information you want to showcase, automatic tab switching can make sure each one gets equal attention from visitors.
- Limited Space: If you have limited space on your website to display information, using tabs with automatic switching can be an effective way to show more content in a small area.
Here's how to do it:
Add a tabs element
You can add as many tabs as you want
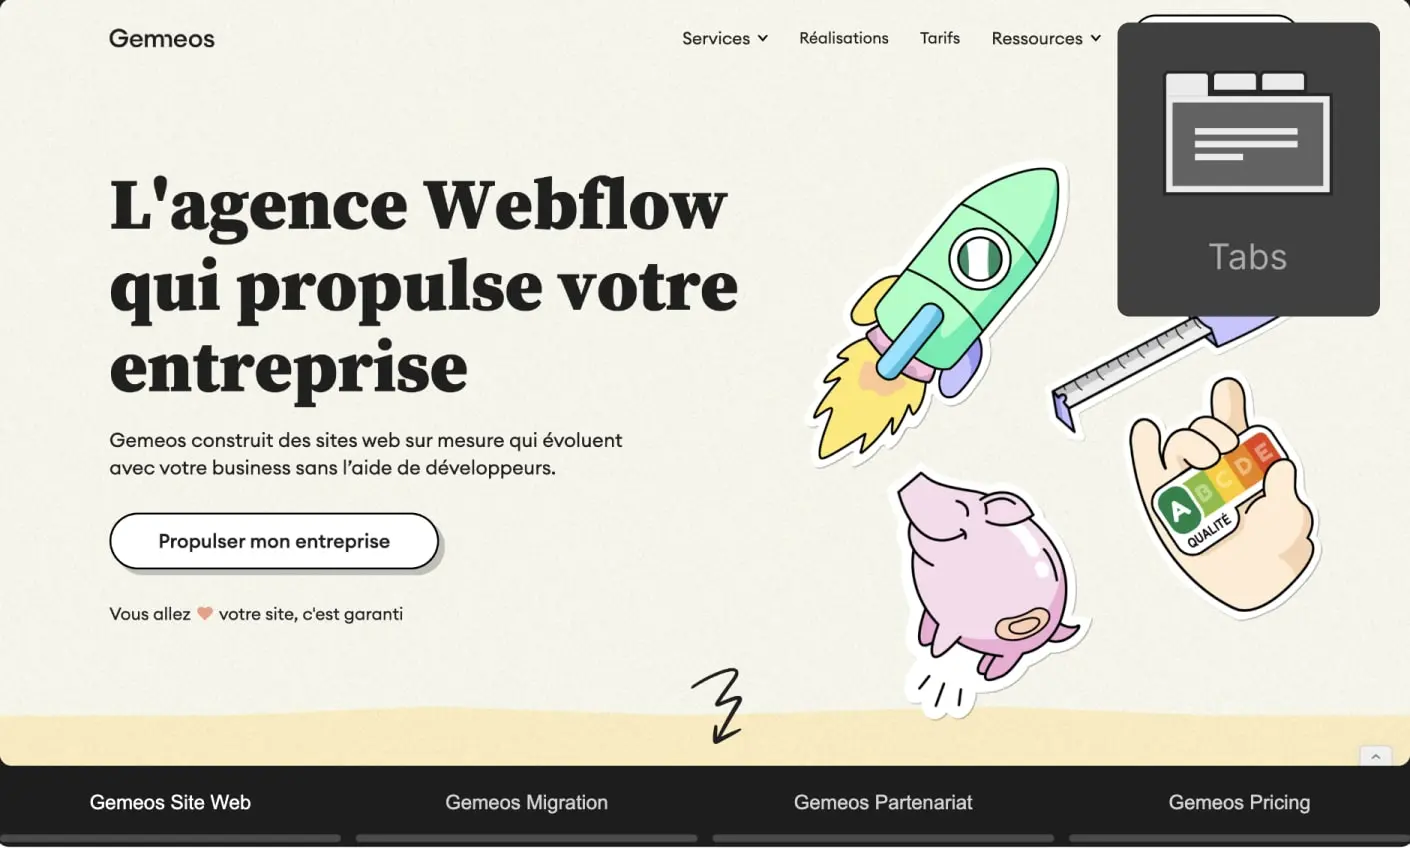
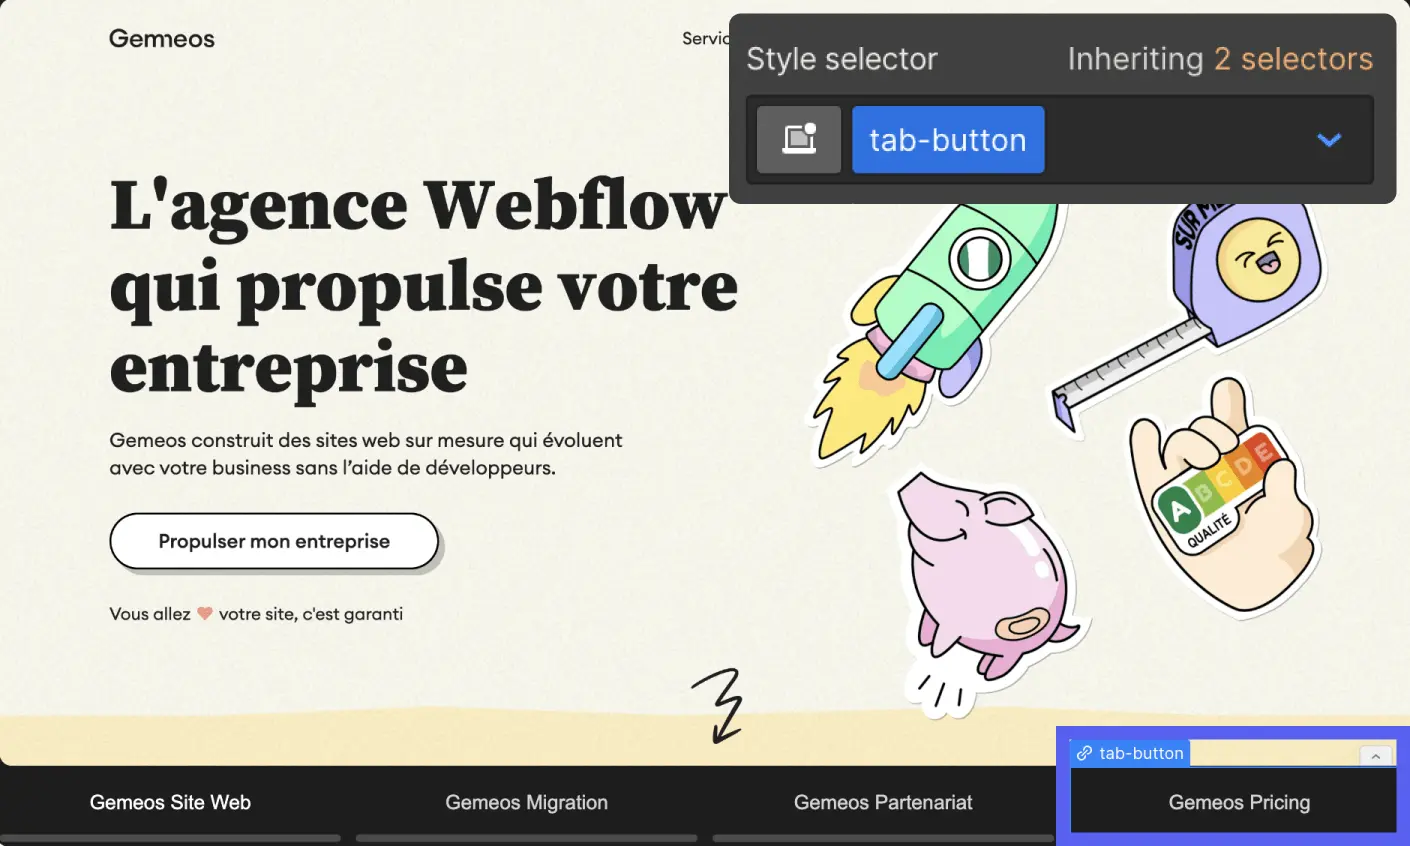
Add the “tab-button” class to each of your tab links
Add the “tabs-menu” class to your tab menu
.webp)
Add this custom code to your page before the <body> tag
If you have just one tab element
If you're using multiple tabs elements on your page
Make sure you use:
- .tabs-menu-2
- .tab-button-2
for the classes on your second tabs element
Change the rotation duration
All you need to do is change the delay (in milliseconds) in the code here:
Publish and test the result

Good to know
Heading
Lorem ipsum dolor sit amet, consectetur adipiscing elit. Suspendisse varius enim in eros elementum tristique. Duis cursus, mi quis viverra ornare, eros dolor interdum nulla, ut commodo diam libero vitae erat. Aenean faucibus nibh et justo cursus id rutrum lorem imperdiet. Nunc ut sem vitae risus tristique posuere.


.avif)


Lorem ipsum
Lorem ipsum dolor sit amet, consectetur adipiscing elit, sed do eiusmod tempor incididunt ut labore et dolore magna aliqua. Ut enim ad minim veniam, quis nostrud exercitation ullamco laboris nisi ut aliquip ex ea commodo consequat. Duis aute irure dolor in reprehenderit in voluptate velit esse cillum dolore eu fugiat nulla pariatur.


