


How to Create a Mega Menu in Webflow
Learn how to build a mega menu in Webflow without plugins, using native interactions and CSS.
In this tutorial, Sandro, cofounder of the Gemeos Webflow agency, shows you how to build a mega menu in Webflow without a plugin, using only native interactions and CSS.
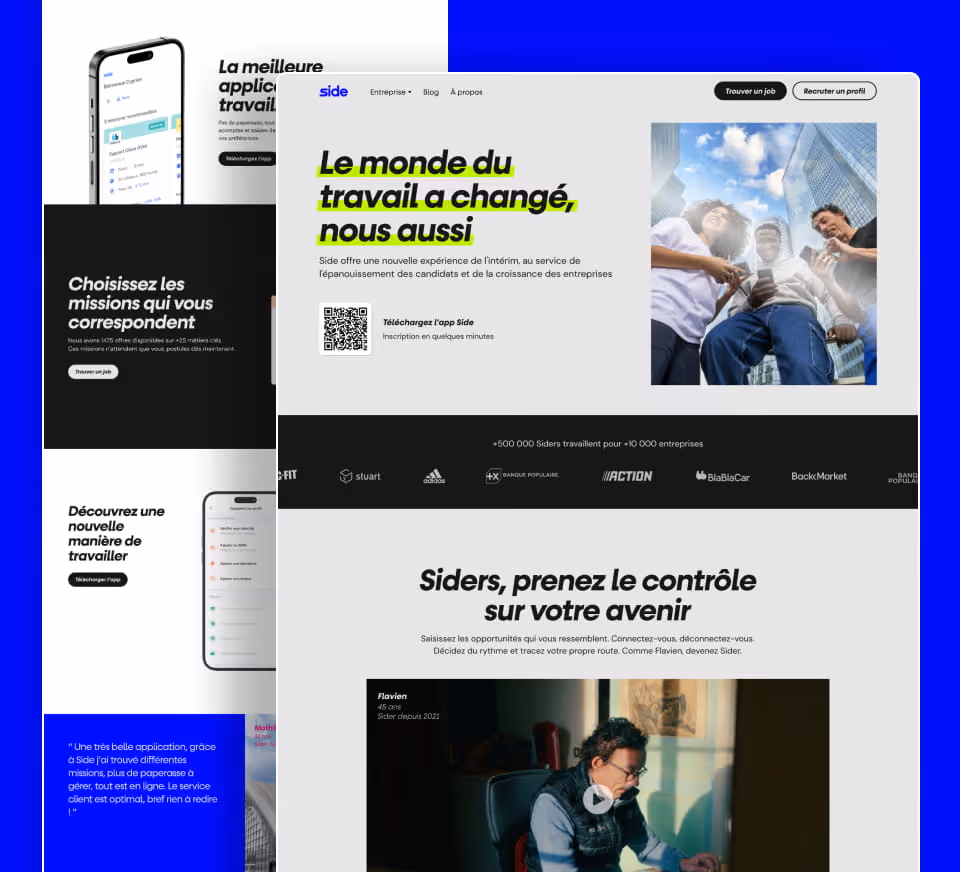
Example
1. Create the mega menu structure
In your Navbar, add a Div with the class nav-item containing the trigger link. Inside it, add a second Div with the class mega-menu, which will be the panel. Set mega-menu to display: none by default. Position it absolute relative to the nav-item (relative).
2. Organize the content into columns
Inside the mega-menu, create several Divs with the class mega-menu-col and set them to display: flex. Add your links, category titles, and optionally images or icons.
3. Add Webflow interactions
On the nav-item element, create an interaction:
- Trigger: Mouse over (Hover in)
- Action: Display mega-menu → block or flex
- Hover out: Display mega-menu → none with a 200ms delay
4. Handle closing when hovering over the mega menu
Add the same "Mouse over" interaction to the mega-menu itself so it doesn't close when the mouse moves from the item to the panel. Hover out on the mega-menu: display none.
5. Close the mega menu when clicking outside
Add this script in the <body> to close the mega menu if the user clicks anywhere else on the page.
Conclusion
The mega menu improves navigation on sites with lots of pages. Use cases:
- Ecommerce sites with multiple product categories
- Corporate sites with many sections
- SaaS with multiple products or features
Good to know
Heading
Lorem ipsum dolor sit amet, consectetur adipiscing elit. Suspendisse varius enim in eros elementum tristique. Duis cursus, mi quis viverra ornare, eros dolor interdum nulla, ut commodo diam libero vitae erat. Aenean faucibus nibh et justo cursus id rutrum lorem imperdiet. Nunc ut sem vitae risus tristique posuere.

.avif)


Lorem ipsum
Lorem ipsum dolor sit amet, consectetur adipiscing elit, sed do eiusmod tempor incididunt ut labore et dolore magna aliqua. Ut enim ad minim veniam, quis nostrud exercitation ullamco laboris nisi ut aliquip ex ea commodo consequat. Duis aute irure dolor in reprehenderit in voluptate velit esse cillum dolore eu fugiat nulla pariatur.


