Adding Custom Elements to Your Rich Text - Webflow
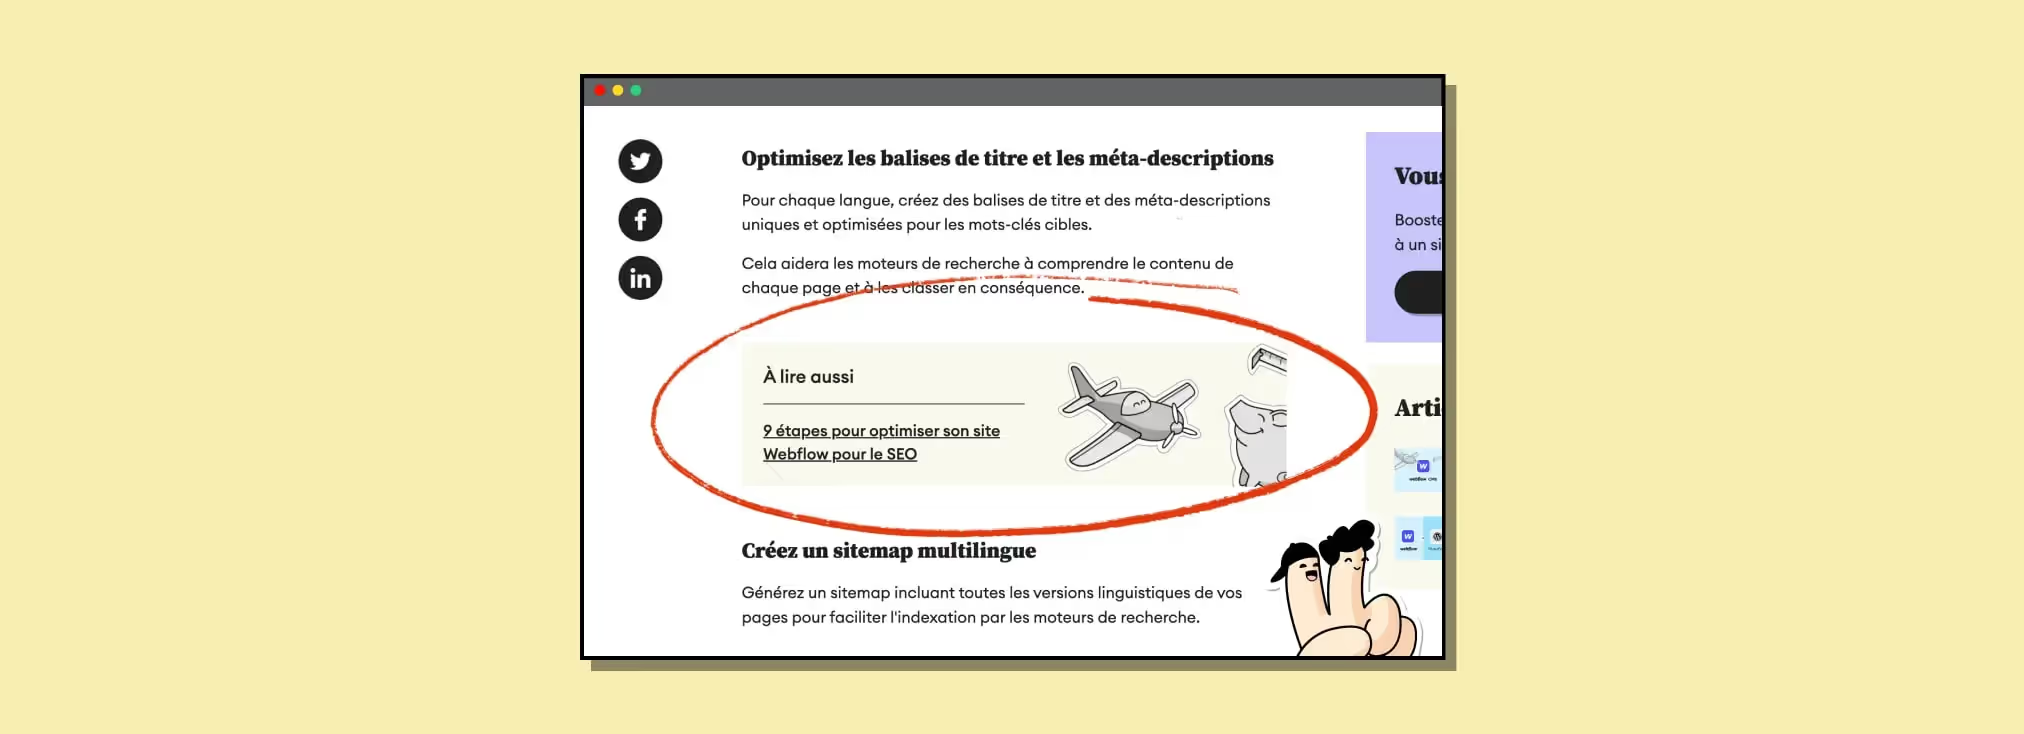
Video
| Step | Action |
|---|---|
| 1 | Implement the element in Webflow Designer |
| 2 | Make it responsive |
| 3 | Open a blank project and copy the element into it |
| 4 | Export the HTML (without the body or scripts) |
| 5 | Paste it into an Embed inside the Rich Text |
| 6 | Add the CSS in a style tag inside a second Embed |
In this tutorial, Sandro, cofounder of Gemeos Webflow agency, shows you how to add custom elements to your Rich Text in Webflow.
1. Implement the element you want to use
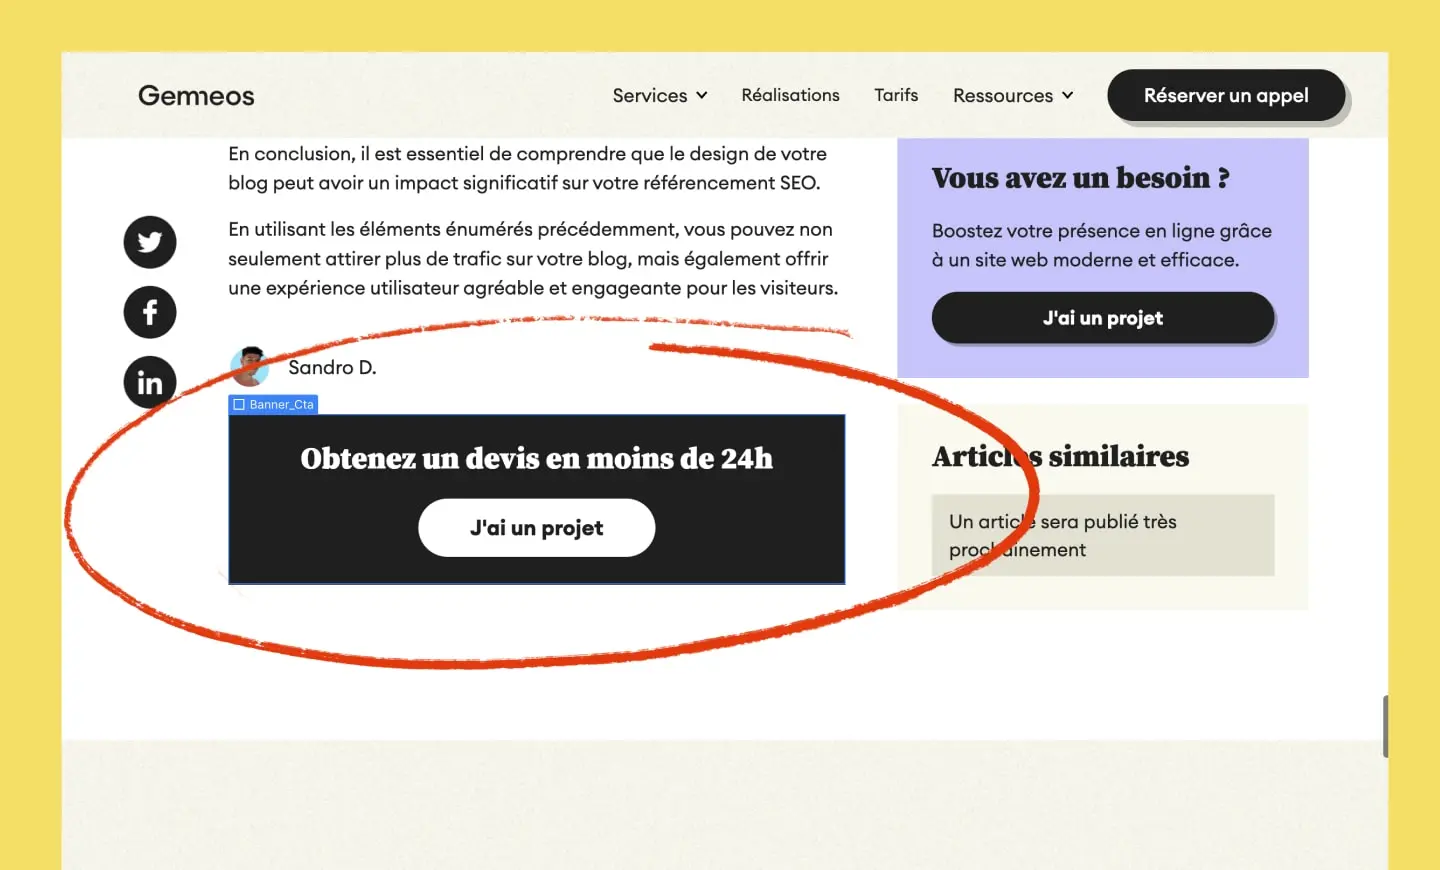
2. Think about responsiveness

3. Open a new project
Copy and paste the element you just implemented into this new project.
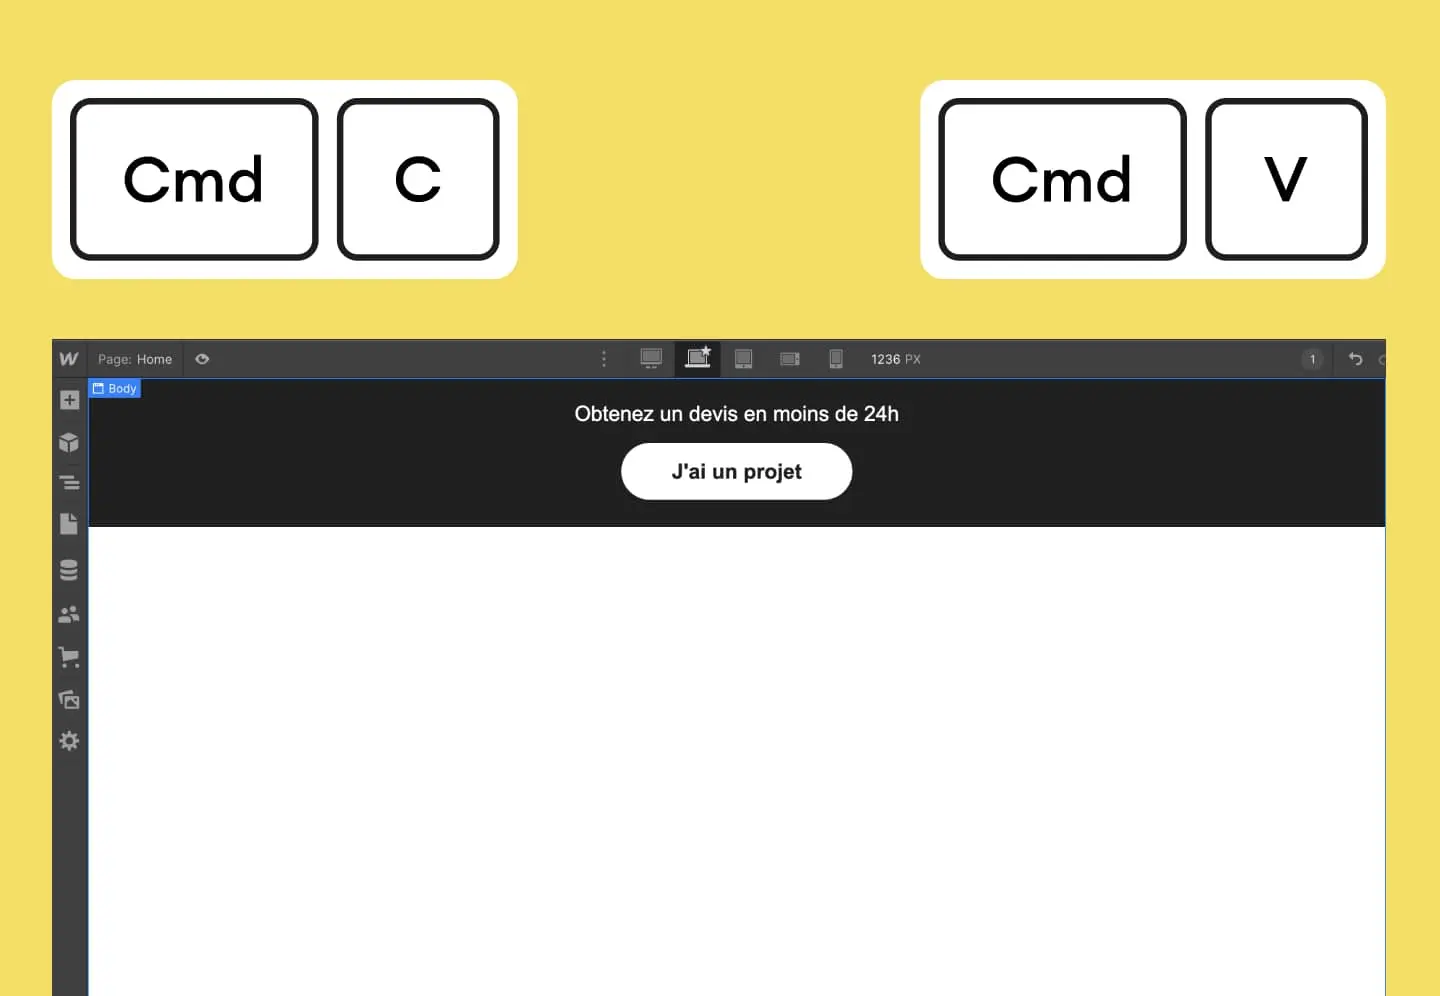
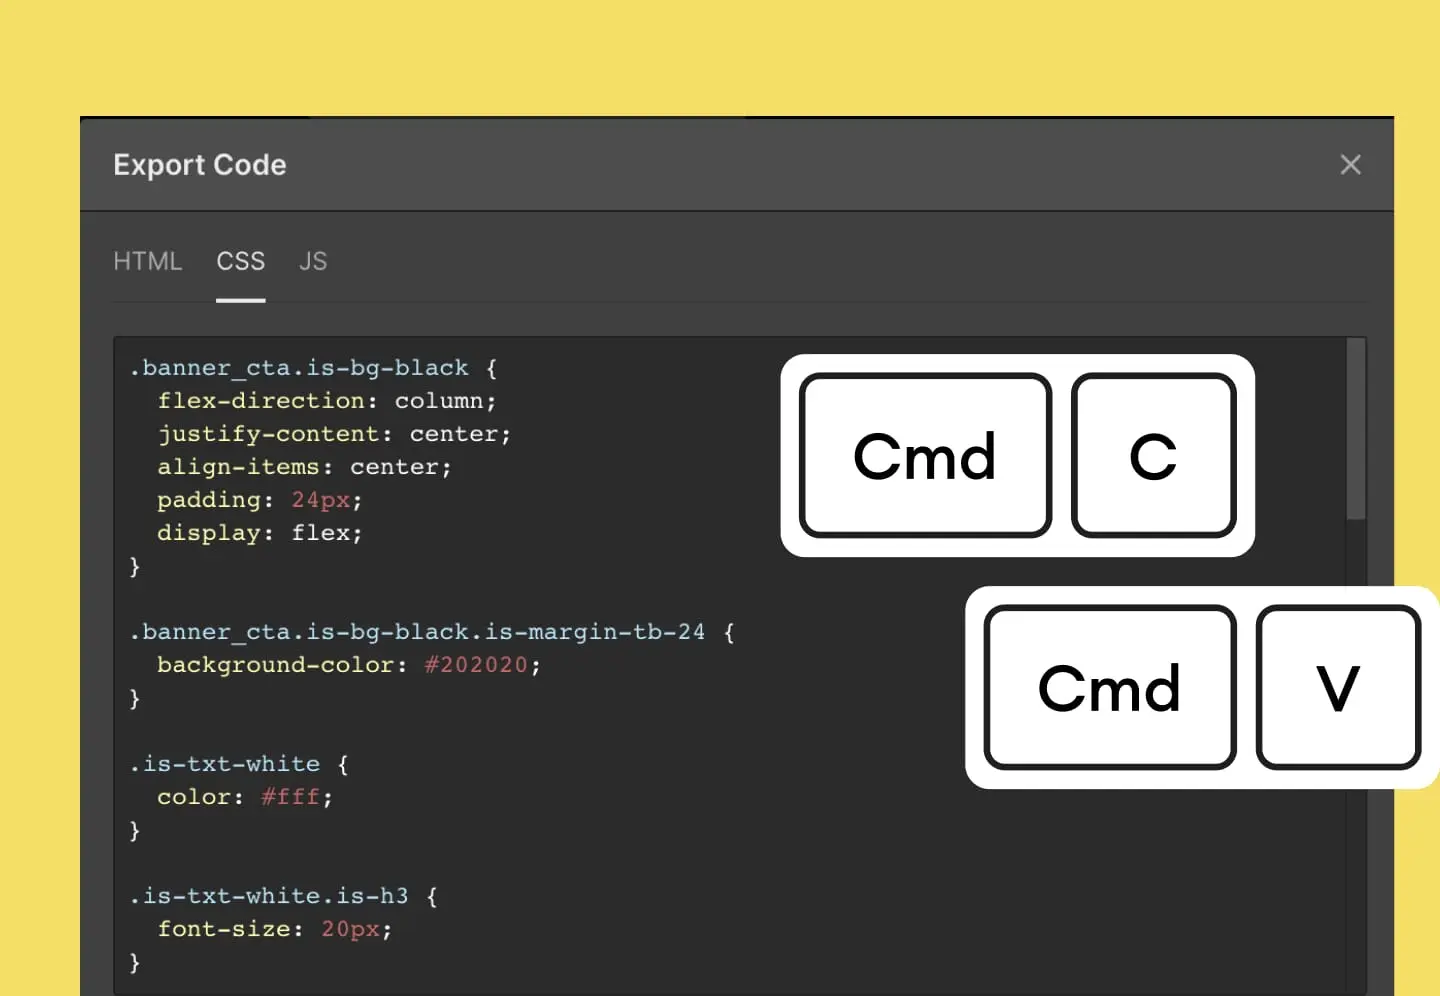
4. Copy the HTML code
Don’t copy the <body> tags or the two scripts. Copy only your div, section, etc.

5. Paste the HTML code into an embed in your rich text
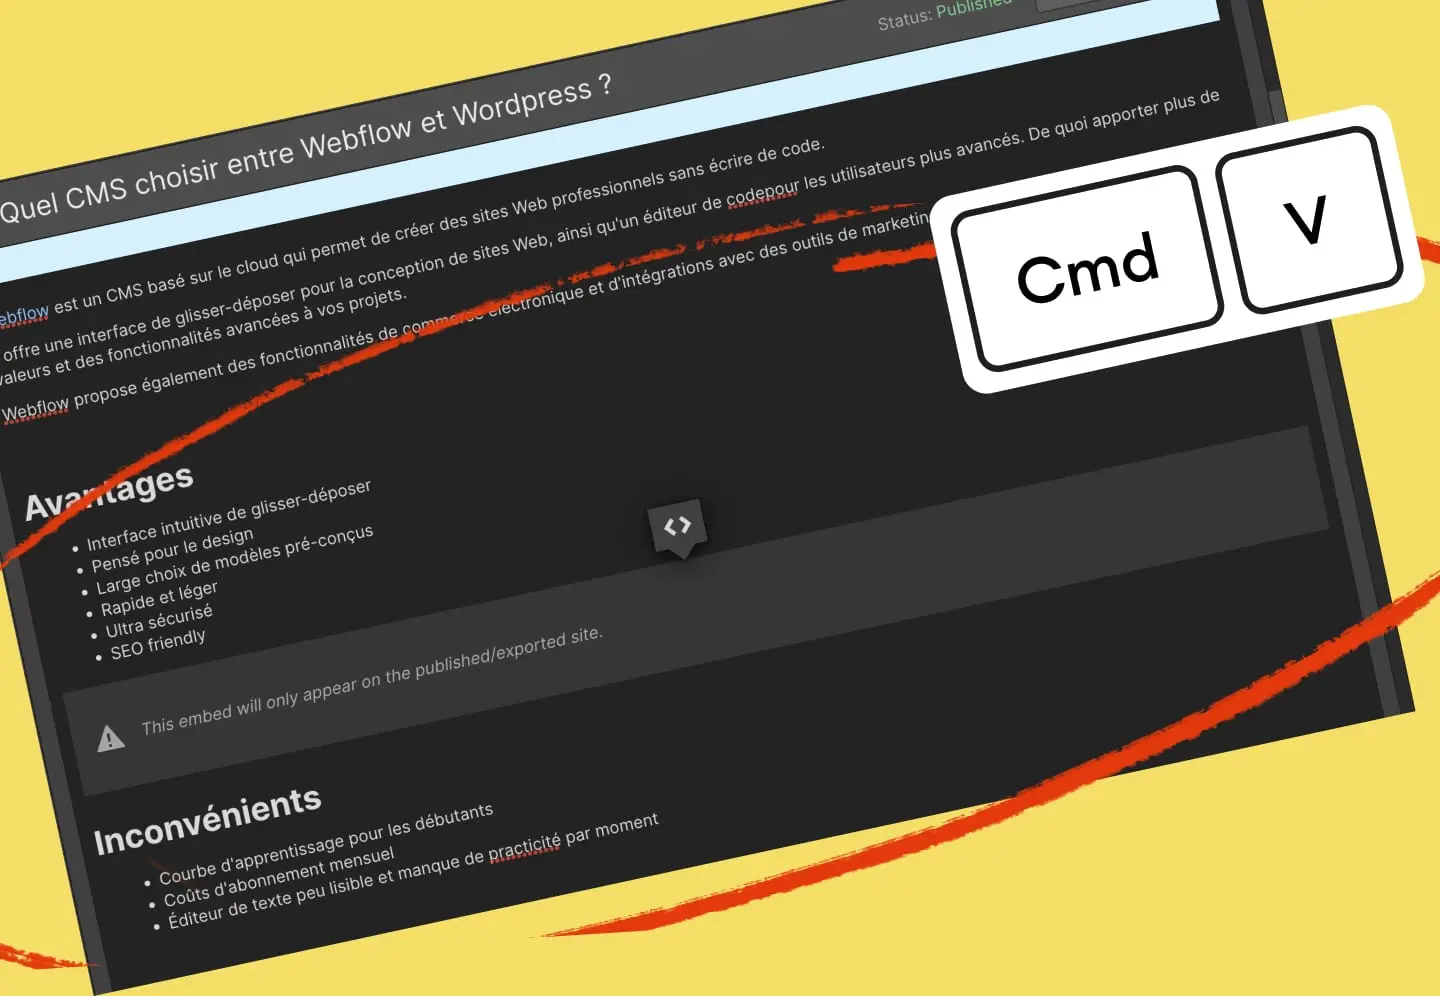
6. Do the same with the CSS
Make sure you paste the CSS inside a <style> tag.
7. Publish your site and check the result
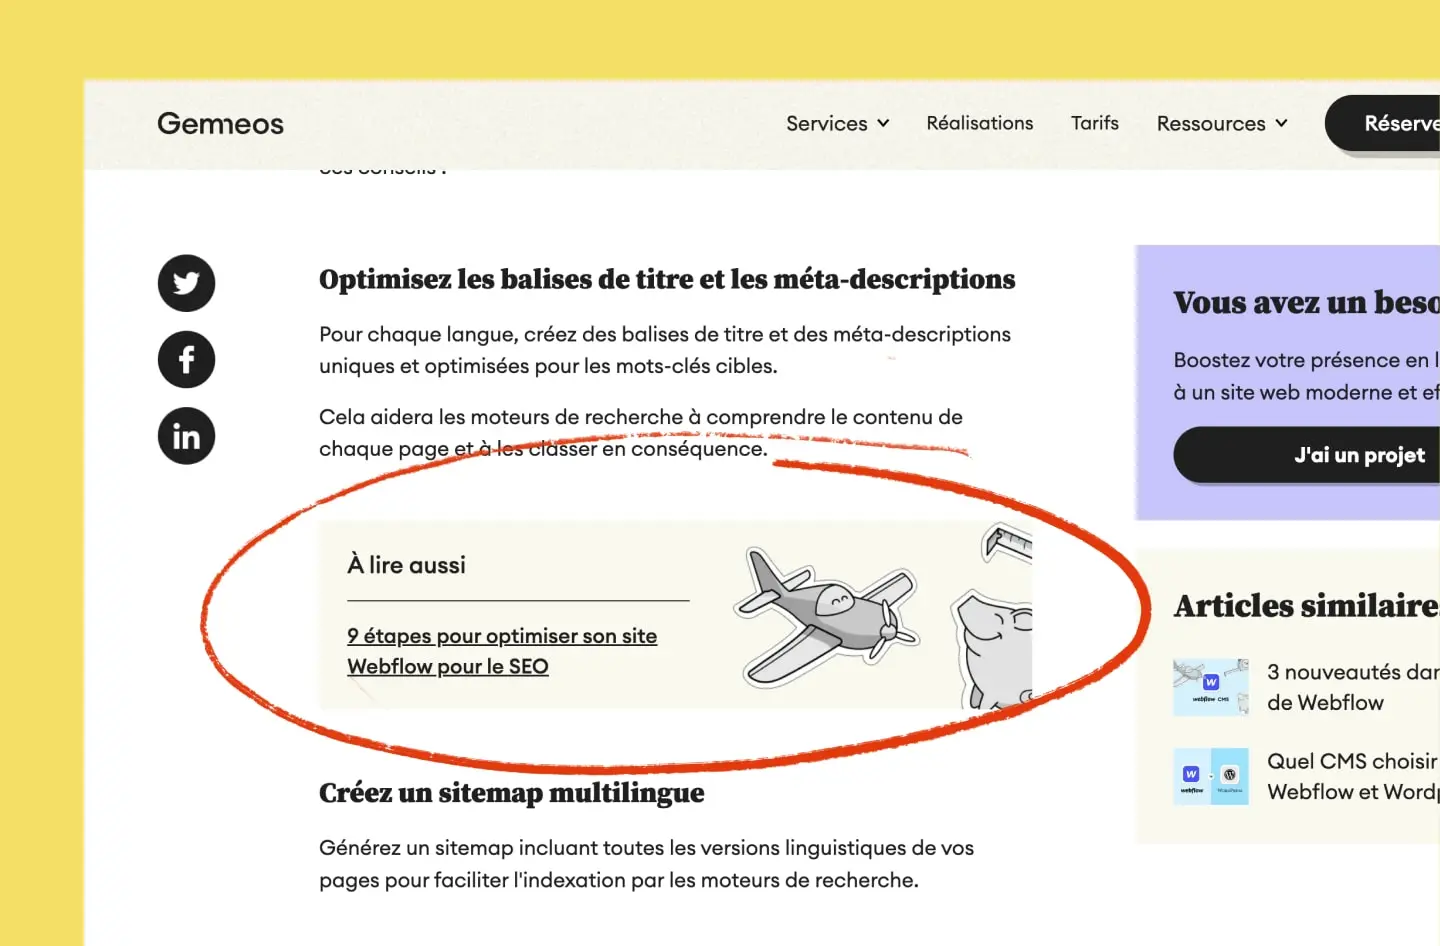

Good to know
Heading
Lorem ipsum dolor sit amet, consectetur adipiscing elit. Suspendisse varius enim in eros elementum tristique. Duis cursus, mi quis viverra ornare, eros dolor interdum nulla, ut commodo diam libero vitae erat. Aenean faucibus nibh et justo cursus id rutrum lorem imperdiet. Nunc ut sem vitae risus tristique posuere.













Lorem ipsum
Lorem ipsum dolor sit amet, consectetur adipiscing elit, sed do eiusmod tempor incididunt ut labore et dolore magna aliqua. Ut enim ad minim veniam, quis nostrud exercitation ullamco laboris nisi ut aliquip ex ea commodo consequat. Duis aute irure dolor in reprehenderit in voluptate velit esse cillum dolore eu fugiat nulla pariatur.