Track where your conversions come from with UTM parameters in Webflow
Video
| UTM parameter | JS variable | Usage |
|---|---|---|
| utm_source | utmSource | Original platform (Google, Facebook, LinkedIn...) |
| utm_medium | utmMedium | Channel type (CPC, email, social...) |
| utm_campaign | utmCampaign | Campaign name |
| utm_content | utmContent | Content variant (A/B test) |
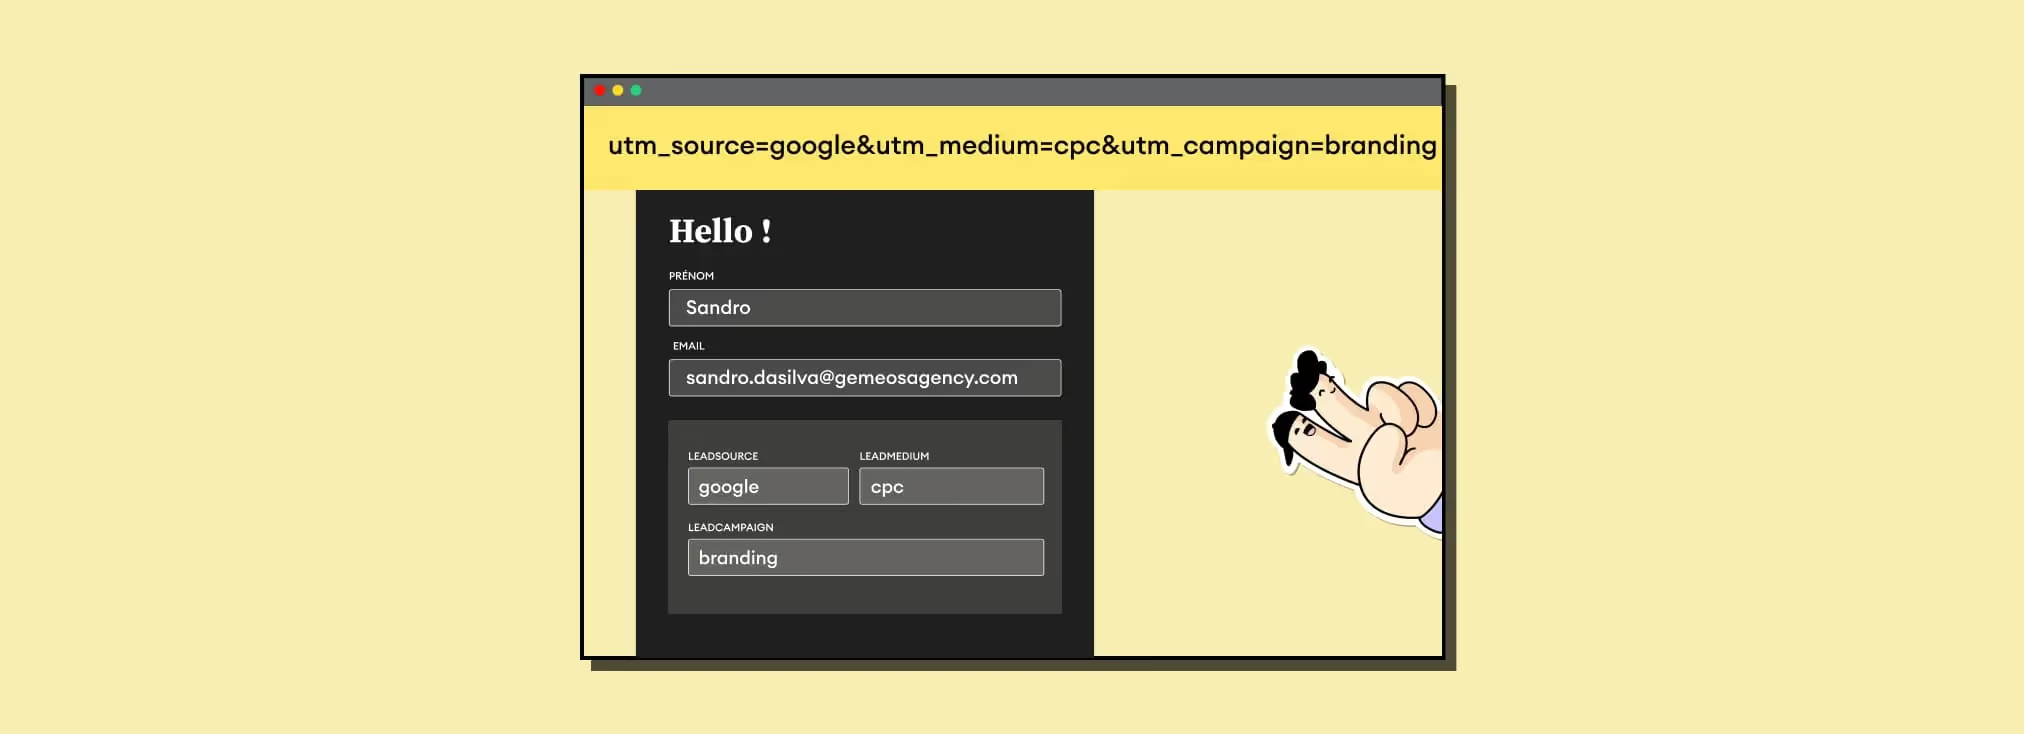
In this episode, Sandro, co-founder of the Gemeos Webflow agency, shows you how to track where your conversions come from using UTM parameters in Webflow.
1. Add the custom code to capture the UTM parameter and store it in session
Add this custom code to the head of each of your landing pages
2. Add fields to your form to pass along the UTM parameters
Make sure you set these fields to display: none. Your leads don't need to see them, and showing them could hurt your conversion rate.

3. Add an ID to each field you use to pass along values

4. Add the custom code to display the UTM parameter in your form fields
 < script>
// Get the HTML element corresponding to the form field
var leadSource = document.getElementById("leadSource");
// Update the HTML element value to display firstPage
leadSource.value = utmSource;
Make sure you replace "leadSource" with the ID value you set earlier
5. Publish your site and test the result

Good to know
Heading
Lorem ipsum dolor sit amet, consectetur adipiscing elit. Suspendisse varius enim in eros elementum tristique. Duis cursus, mi quis viverra ornare, eros dolor interdum nulla, ut commodo diam libero vitae erat. Aenean faucibus nibh et justo cursus id rutrum lorem imperdiet. Nunc ut sem vitae risus tristique posuere.












Lorem ipsum
Lorem ipsum dolor sit amet, consectetur adipiscing elit, sed do eiusmod tempor incididunt ut labore et dolore magna aliqua. Ut enim ad minim veniam, quis nostrud exercitation ullamco laboris nisi ut aliquip ex ea commodo consequat. Duis aute irure dolor in reprehenderit in voluptate velit esse cillum dolore eu fugiat nulla pariatur.